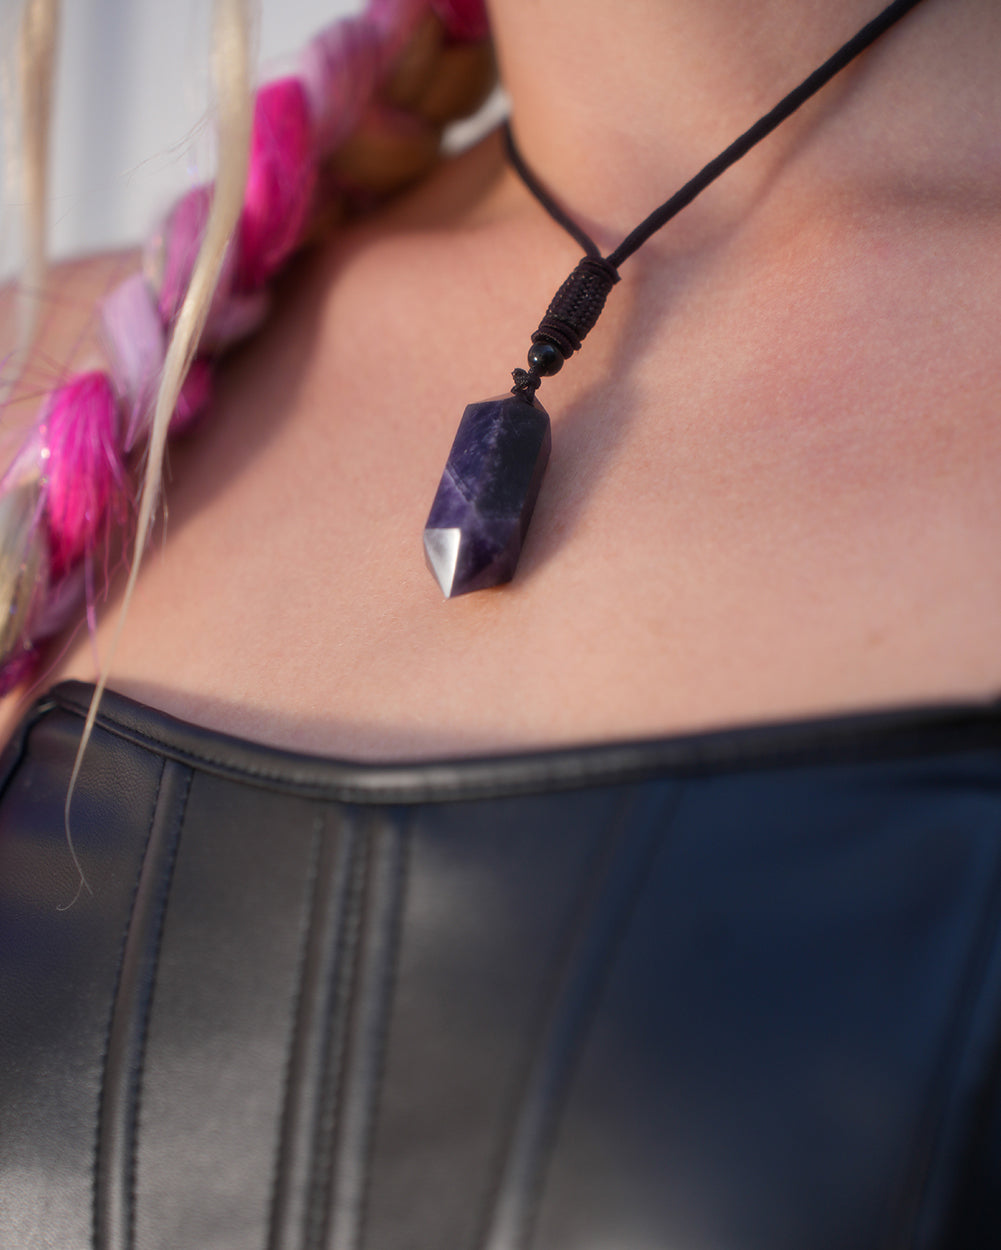
Kandi and trading kandi is a huge part of rave culture. It’s a way to be creative and give something special to the people around you while you feel the music at a show. Making kandi has always been special for me, and when I introduce new friends to raving, I always try to teach them about making kandi and trading it with other people. For those of you who aren’t familiar with kandi: kandi are bead bracelets and necklaces that ravers trade at shows and festivals. There are many types of kandi.
Here are step-by-step instruction on how to make kandi, specifically how to make perlers to take to your next rave!
Materials:
- Perler Beads (usually sold at craft stores, sometimes called hamma beads)
- Perler pegboard
- Pattern Masking Tape
- Needle
- Parchment Paper
- Beads for necklace
- String Iron
1. Pick a pattern to use for your project.
A good place to look for patterns are Google and Pintrest if you are looking for anything specific. If you are wanting to turn an image into a pattern, websites such as Beadifier lets you upload your own image to create a pattern. For the purpose of this article, I created a unicorn perler necklace.

2. Lay your perler pegboard on a flat work surface.
Start with the dark outline first to make sure your design fits on the board. If you have the large tub of perler beads, separating your colors before you start your project will make this process a lot easier!

3. Fill in the rest with your perler beads.
You can either follow the pattern or be creative and use completely different colors!

4. Lay masking tape on top of your project.
Once you have all the beads laid out on the board and it’s ready to be melted, lay tape down carefully. Go slow on this step (I’ve messed up many projects up rushing through this), and make sure you press down on the tape to make sure the beads are stuck to it. Use your needle and poke holes over the tape. This step is optional but highly recommended. Melting your project directly on the pegboard can warp your board over time.

5. Slowly and carefully peel the edges of the tape off and flip the pegboard.
For bigger projects, it’s highly recommended to flip your piece with cardboard on the other side for stability.
6. Lay your project on a flat surface with the taped side down and lay parchment paper on top of your perler.
Plug the iron in and set it to low/medium heat and melt the beads over the parchment paper by moving the iron in slow, circular motions.

7. Once the beads are melted (the holes in the beads will look smaller), carefully take the tape off
Flip your project and repeat step 6 and 7. Wait for peler to cool down. Put flat, heavy objects such as books on top of it so the perler will be flat when it cools.
8. Poke two holes on the top of the perler, one on each side.
Cut a long piece of elastic string and string it through one of the holes so the string folds in half. Put beads through both strings but make sure to leave some room at the end of it so you can tie it. Then string one side of the string through the second hole and make a knot. Your perler necklace is done! Take it to a rave or festival and trade it with someone you vibe with!


